
Hi Ya’ll! If you love the sewn look on Scrapbook Pages… you came to the right post! Today you are going to learn about sewing scrapbook pages with Mosaic Moments™ Paper Tiles. I am not a big sewer myself, but I found this project to be pretty easy. So if I can do it… YOU can too. This is an adorable look and I loved how my page turned out.
For this project I highly recommend using Paper Tiles. I love them since you can easily sew or hand stitch the edges. When you stick them on the grid, it looks as if you sewed right onto the 12×12 sheet of paper. If you have not done any sewing before, I suggest practicing on some card-stock before you begin.
For this post I show two different techniques: adding thread with a sewing machine and hand-stitching. Using the sewing machine is the quickest way. Hand stitching is easy, but takes a little more time.
Using a Sewing Machine
Materials Needed:
- sewing machine
- thread
- Paper Tiles (Or cut your own with Card-stock before you start)
- re-positional glue to stick on grid paper afterwards
If you have a sewing machine you can easily sew around the edges of the Paper Tiles. This is the easiest and fastest way to sew around a Paper Tile. Choose the settings you would like on your sewing machine and get started!
Here I am sewing on a 4.375″ square Paper Tile. I will be using this to frame a photograph on my page. You may want to use a pencil around the edges so you can follow the lines. Be careful with the paper – hold down as straight as possible. Paper is not as forgiving as fabric if you need to fix it, so please do a couple of practice runs beforehand.
Here is a close up shot of my Machine sewn Paper Tile™. I actually made a second one with yellow thread so I could get the “blue jean” look. The best part is it only took me a couple of minutes. If you are pretty familiar with sewing this will probably be a piece of cake!
Hand Sewing
Now I am giving you directions on how to hand stitch the edges. This is great if you do not have a sewing machine, or you would like to do a different look other than the sewing machine. This is not very difficult to do, but it does take more time than using a machine.
To do this you will need:
- a small hole punch,
- Paper Tile(s) of your choice
- Needle
- Thread (I suggest using a thicker thread)
- pencil
- Ruler
- Cutting Mat
Here I am using a 4.375w x 6.625″ Paper Tile™. To begin the process, first draw a line lightly on each edge. I used the Mosaic Moments™ mat and drew a line on the 1/8 line. Use your ruler to keep your lines straight.
For this next step I used the mat again and drew a point on each of the 1/8 lines. This mark where you will punch holes on your Paper Tile™. If you need, you can use a ruler to keep your marks straight.
After you mark your Paper Tile, you will need a small hole punch as shown here.
Next, take your hole punch and punch holes on each mark you created on the Paper Tile. Pay careful attention as you punch!
Here is a close up image of the holes punched out along the edge. Now you can erase the pencil marks.
Next, grab your needle and tread. As shown here, make sure that you have about two inches of thread through your needle. Next, measure enough thread to be approximately 3 times longer than the width of your Paper Tile.
Stick the needle through the bottom of your first hole and…
Put the needle through the next hole to get this look. Pull through the thread through until there is about an inch left so you can tie a knot as shown below:
Flip the Paper Tile on the back and tie a knot to keep the thread in place.
Thread through all the holes until you get to the last hole on the edge you are working on. Tie another knot at the end. Repeat this process until each of the edges are threaded.
You can also wrap the thread around the outside of the edges to get this look.
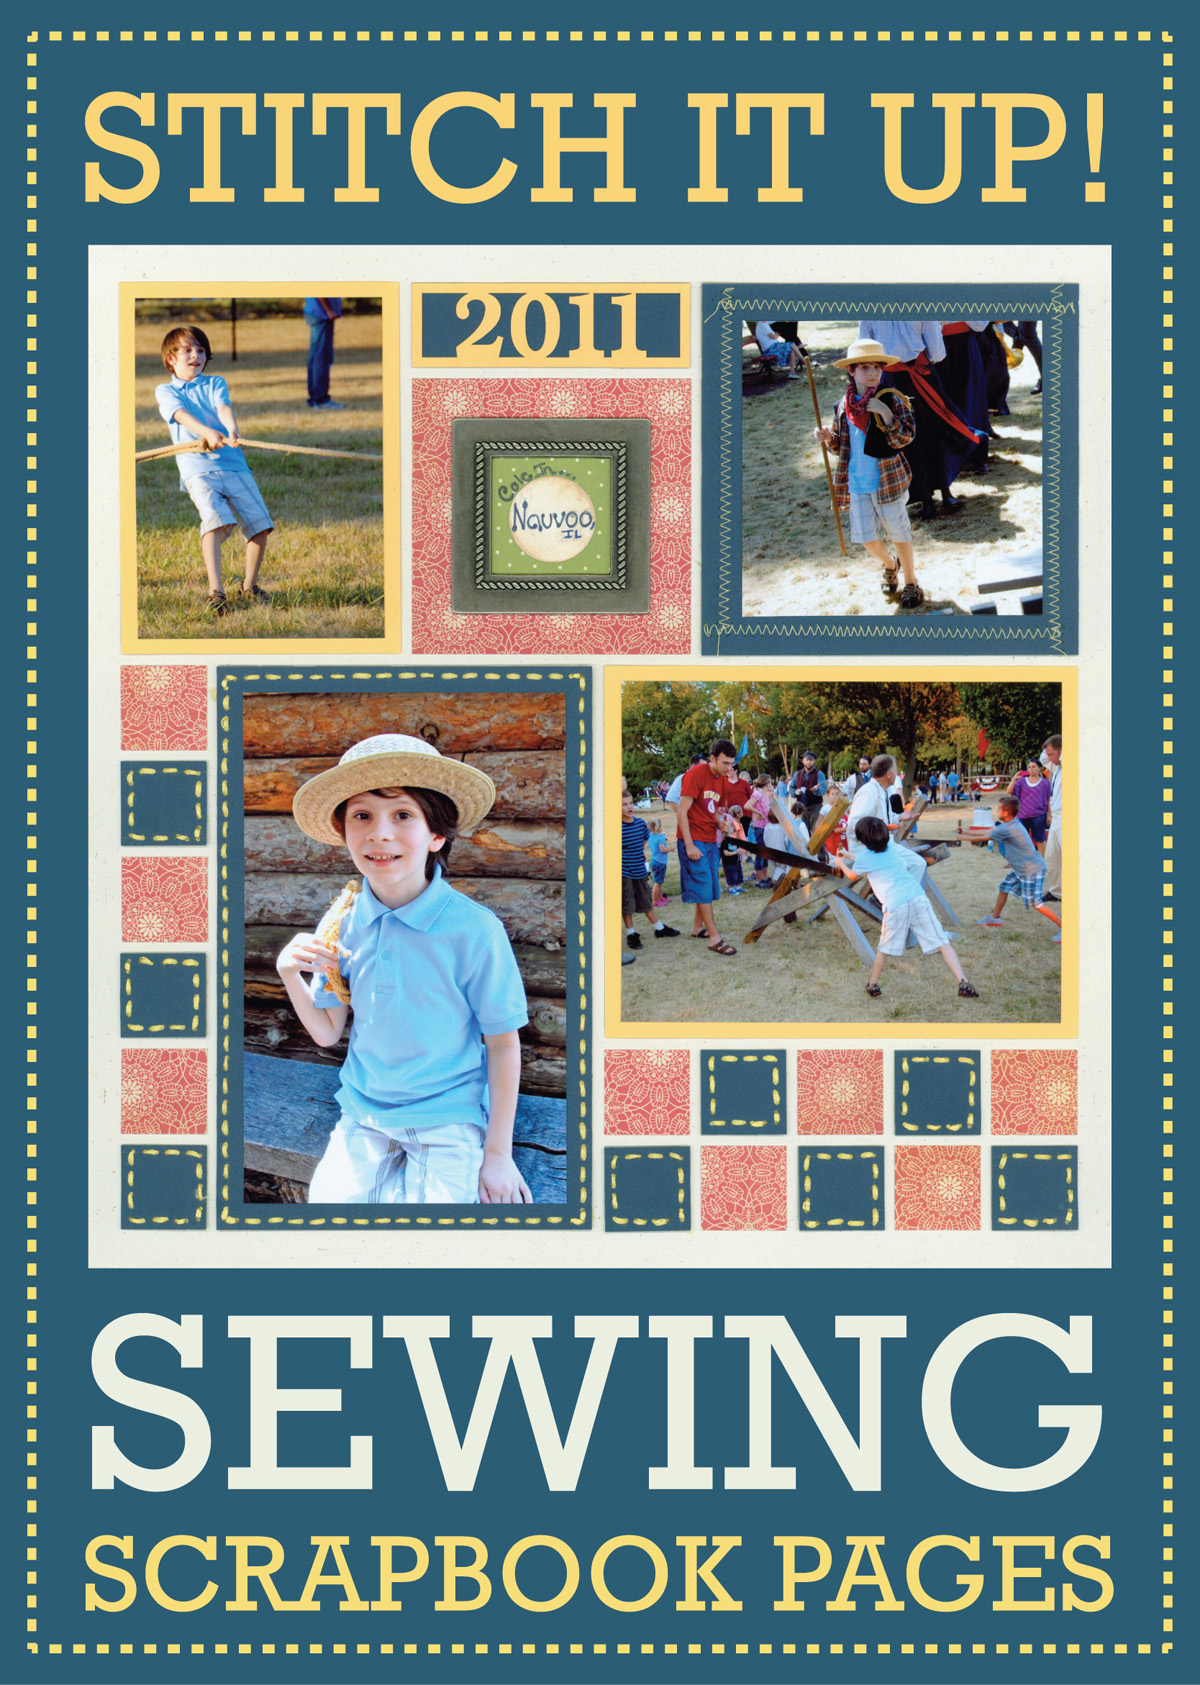
Materials I used for Scrapbook Page:
- Mosaic Moments™ 12×12 Birch (Sadly this is no longer available 🙁 )
- Navy and Sunflower Paper Tiles
- Patterned Paper from Simple Stories™ Summer Fresh 6×6 paper pad
- 2011 Style B Cornerstone
- Making Memories™ Metal Frame
This is an adorable look! I love it and I hope you do too. Happy Scrapping 🙂