Featuring: Star Die Set, the Triple Star Die and the Circle Frame Die and Tab Set
Today we’ll keep things a bit patriotic using Stars & Stripes as today’s story will show a few of the pages I have prepared from our trip through our nation’s capital city.
When I featured a DC photo a few weeks back I had pulled all these photos together to pick one. Then I decided I’d like to expand on that theme with some following pages I’ll show you today.
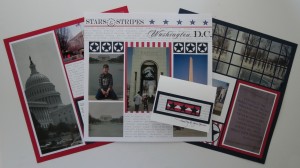
I’ve completed three pages one each on Brick, White and Navy 12×12 Mosaic Moments Grids. I’ve used two different patterned papers. (Pebbles: Let Freedom Ring collection, Benjamin Franklin: and Creative Imaginations: Washington DC) and cardstock in red, white and blue, also the Mosaic Moments Stars Cornerstone Die Set and Circle Frame and Tab Die Set were used for the embellishments.
I have used patterns #204, #299 and tweaked pattern #211 to fit the photo I wanted to use. I have several panoramic photos that are printed out at 4”x 12”. To keep one of the photos whole I used a column pattern to use a whole column for the photo and it also got me three spots for horizontal photos.
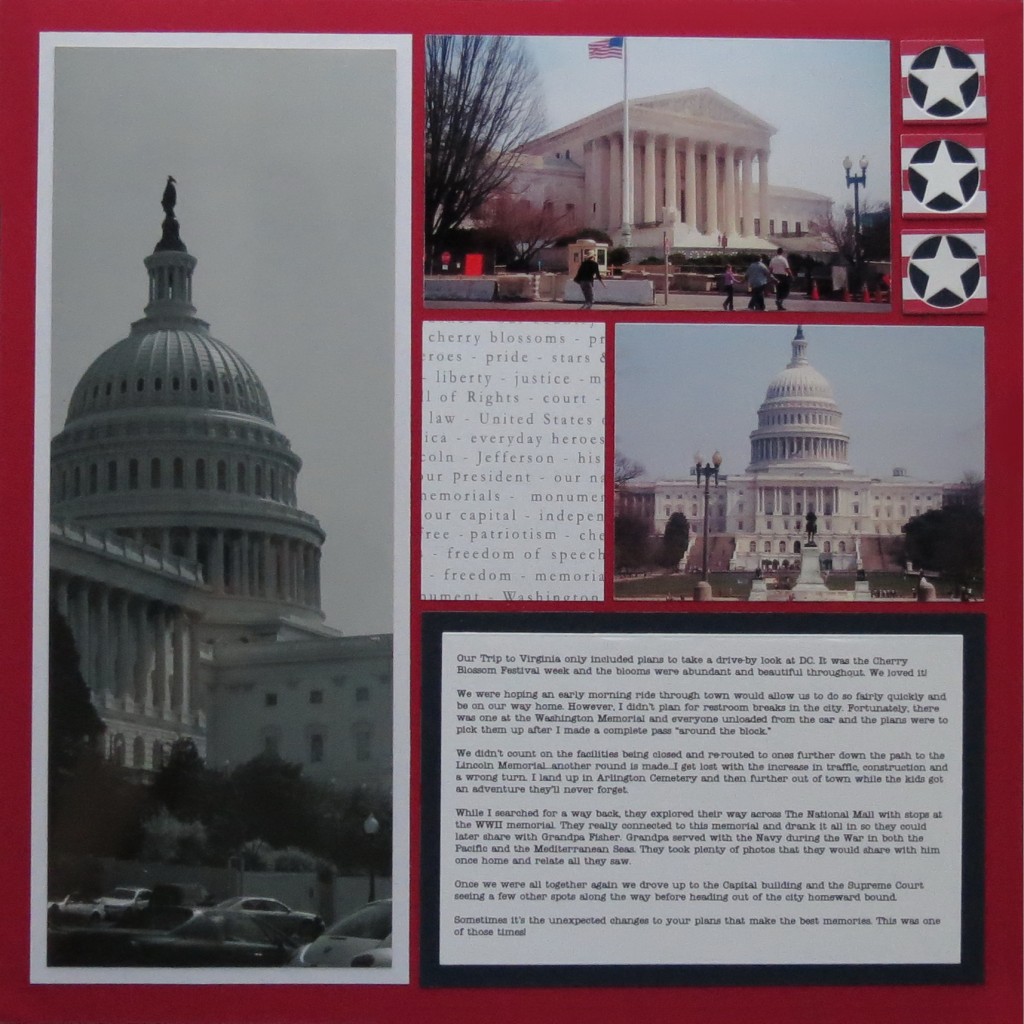
THE RED PAGE:
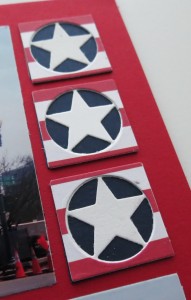
This is pattern #211 and the one I tweaked to accommodate another panoramic photo. This one I trimmed slightly to fit the space and mount on a narrow white base. The small stars I used on this page I tried the layering technique using the 1” circle frame die. I cut white stars mounted on navy and topped with a stripe circle layer. I wondered how it might look if I filled the layers with liquid acrylic so I tried one. I didn’t use it, but thought you’d like to see what it looks like if you’d like to try it.
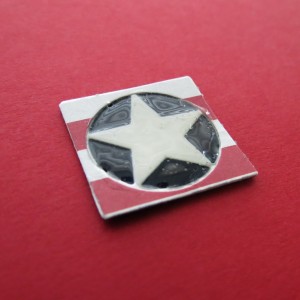
MM TYS DC Stars & Stripes alternate star tile with center section flooded with liquid acrylic to create a button effect.
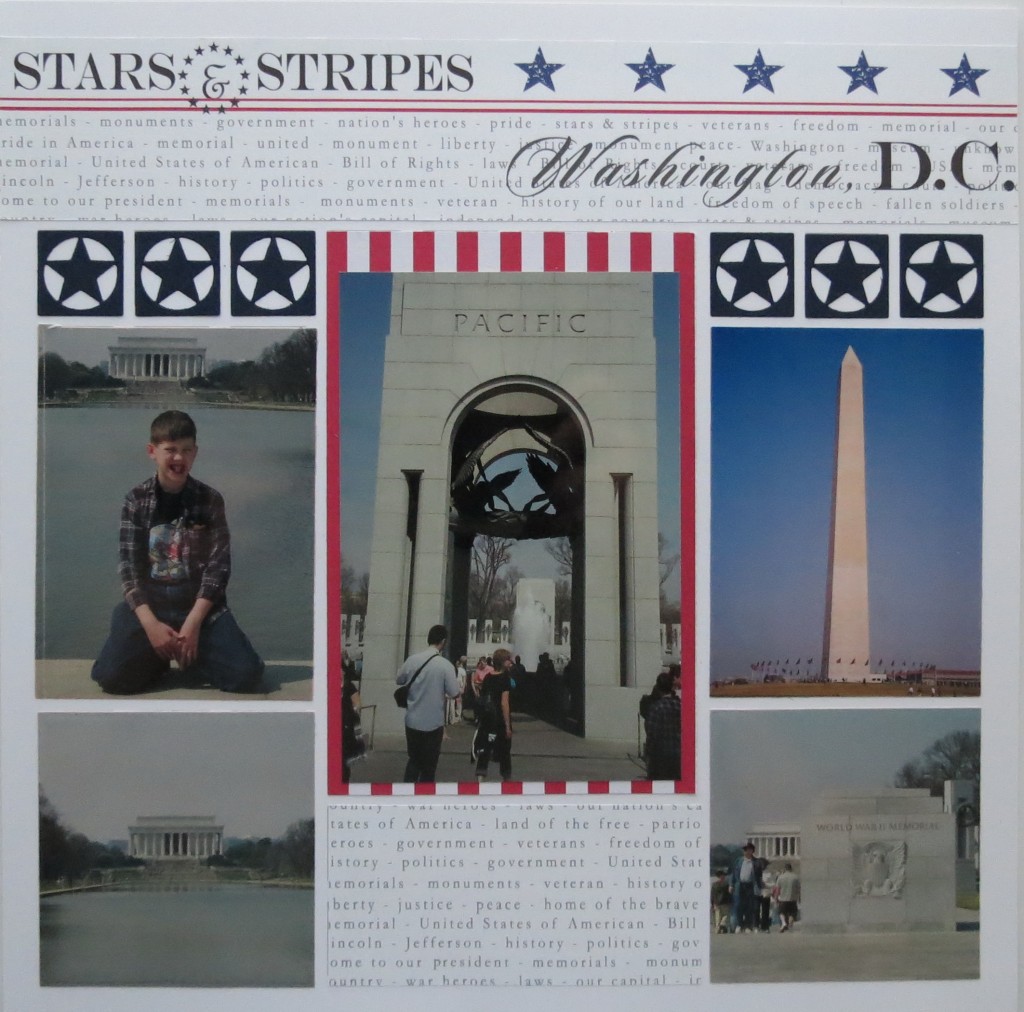
THE WHITE PAGE:
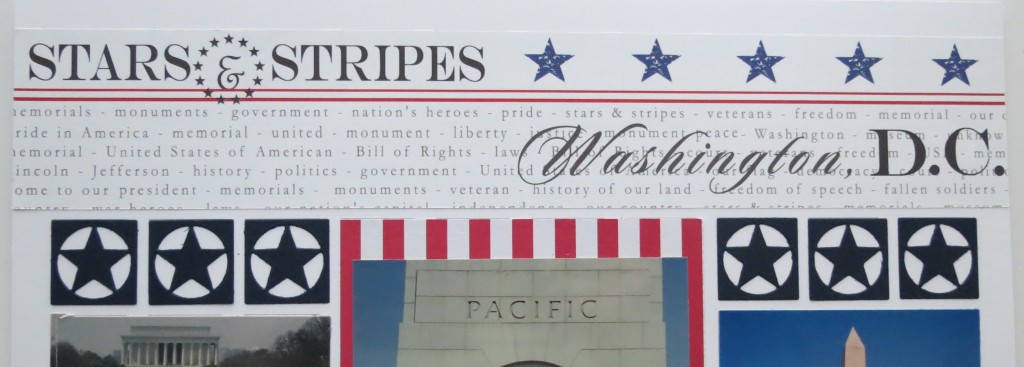
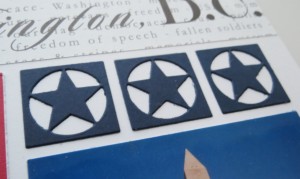
I wanted to use the Stars and Stripes pattern paper for the top of Pattern #204 but, to trim it to the space I’d lose some of the design, so for this layout a slight tweak to the pattern, I went flush side to side and only lined it up along the top edge of the grid. Because it is white on white it actually gives a bit of a punch to the page and a newspaper title page feel. Small blue stars applied directly to the white grid and striped paper adds to the stars-n-stripes theme.
THE BLUE PAGE:
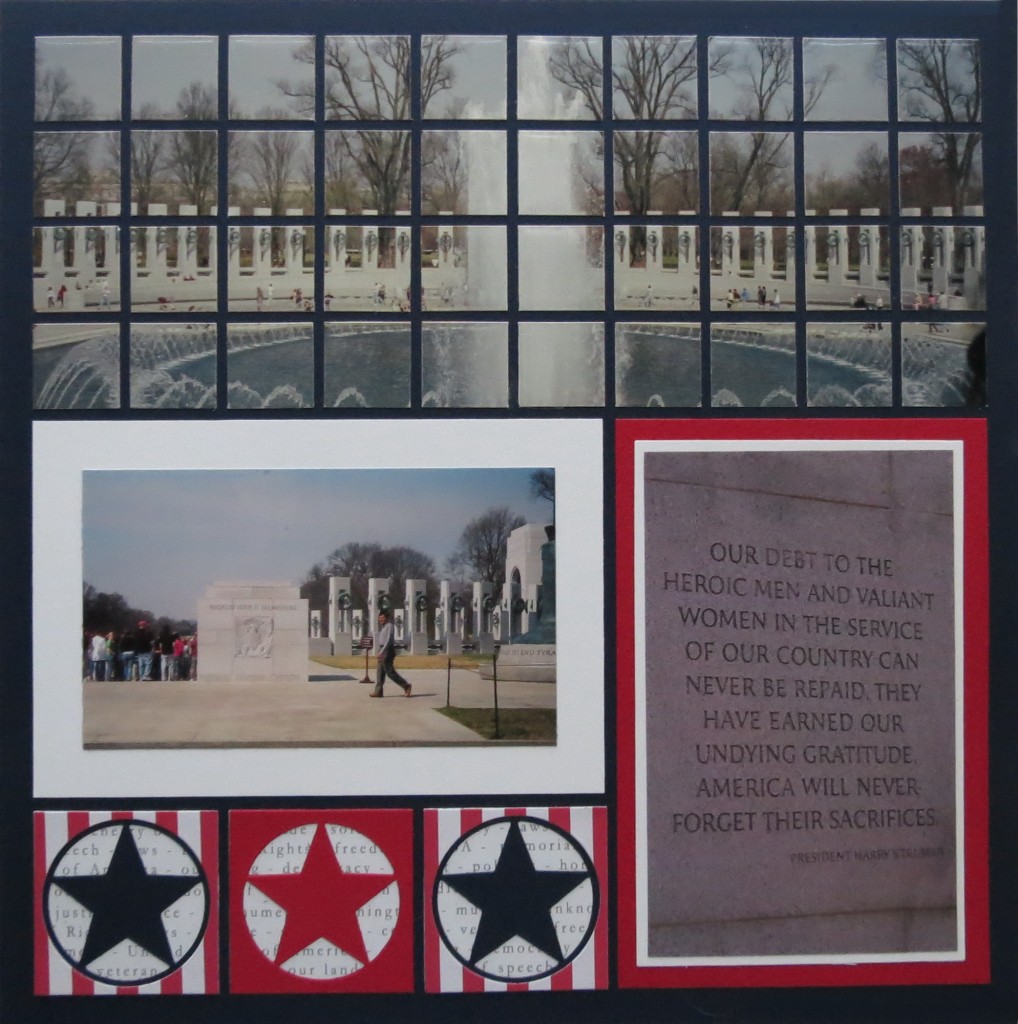
I’ve used the mosaic section of pattern #299 for the pan photo of the WWII Veteran’s Memorial. There’s a close up of the inscription from one of the monuments and the third photo is from another viewpoint.
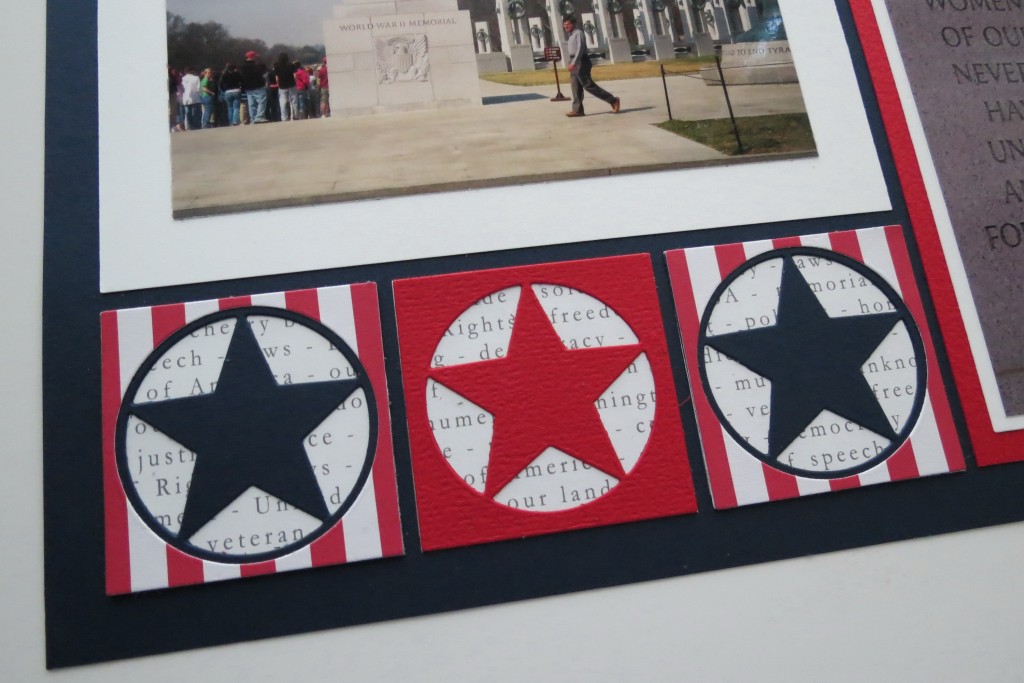
I’ve used three stars mounted on the patterned paper from Stars & Stripes paper and then I tried something a bit new. Using the 2.125” Circle frame die I cut from the stripe paper what will become the top layer of the star squares. Layered on top it leaves a narrow strip of the blue star tile for a nice border and dimensional look.
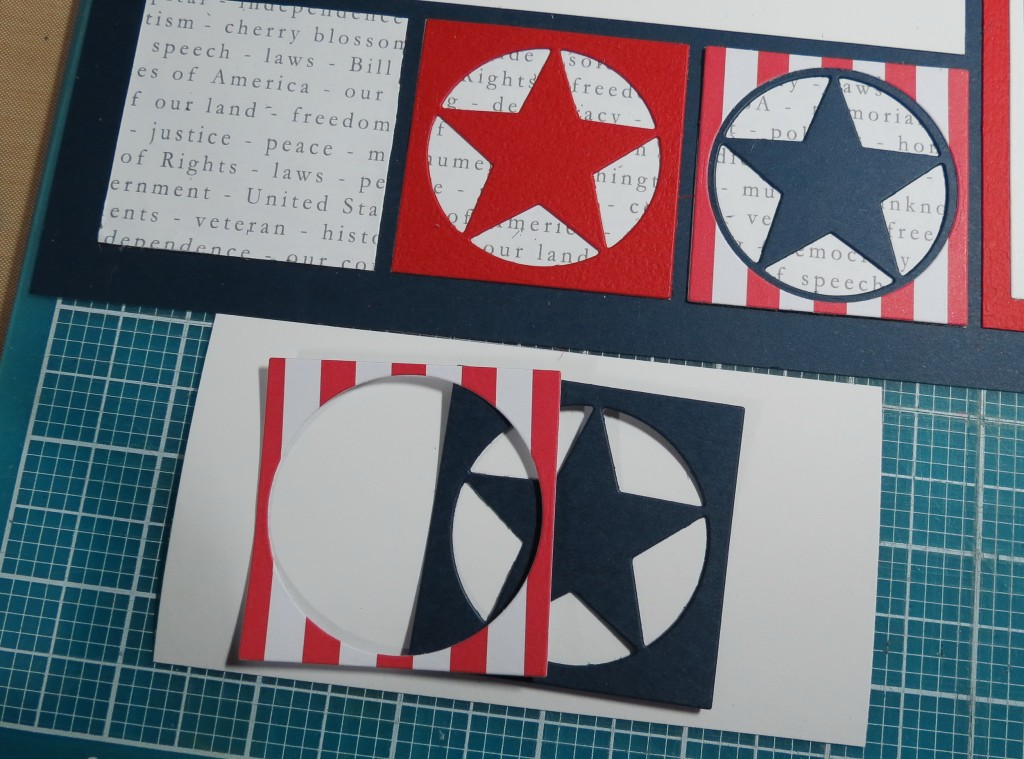
MM TYS DC the navy star die cut layered with the stripe pattern paper cut with circle frame die overlaid for framed look
THE TIPS:
There are still more photos to add to this collection and it may eventually get finished! A few tips to keep them all related:
• Continue the colors and theme
• Reuse the star dies.They will allow for many variations
• Red White and Blue Cardstock and “left-over” papers will allow me to use small pieces on each future page and keep them connected.
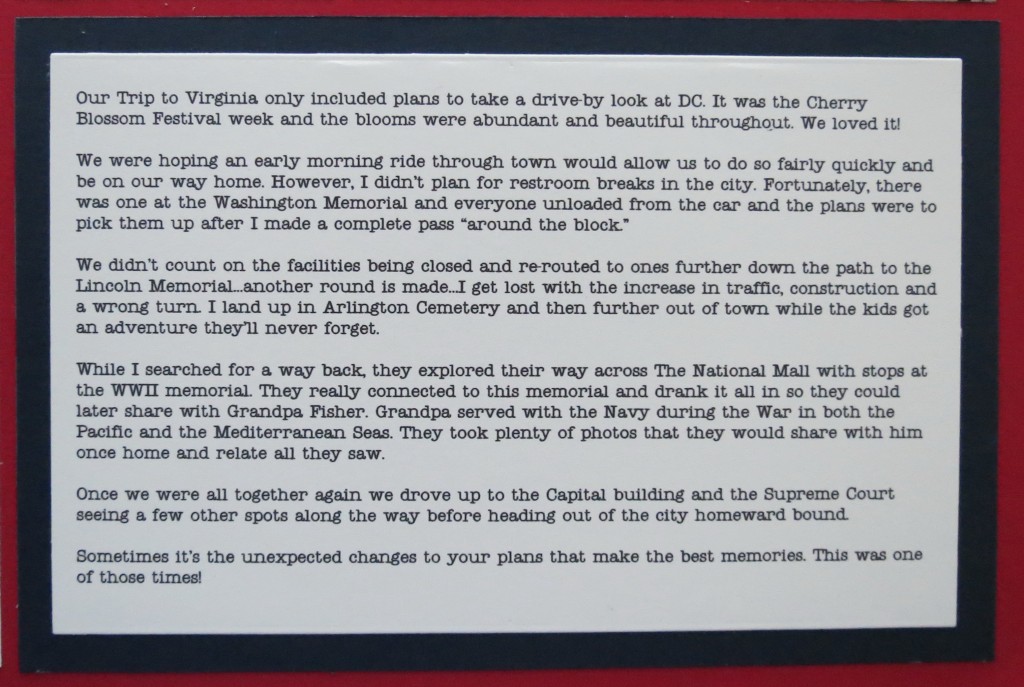
THE STORY:
THE CARD:
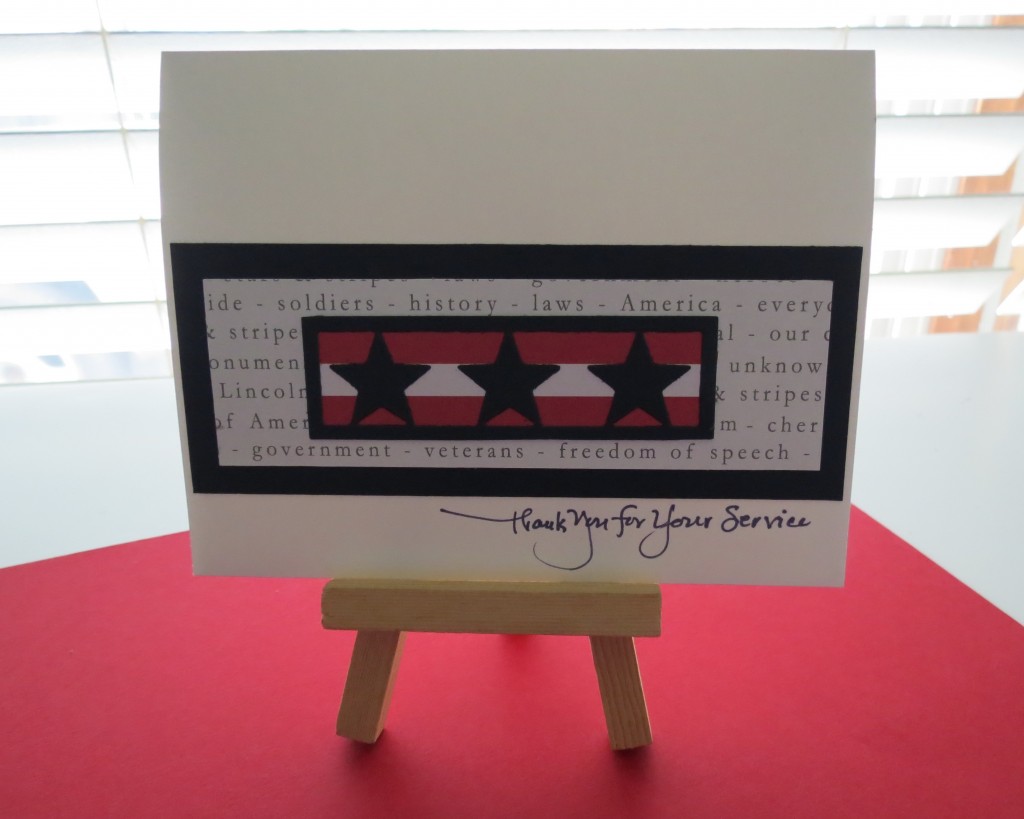
On a half-sheet of white cardstock I’ve taken the triple star die to cut in navy and back the tile with the red stripe patterned paper lining up the red stripes. Next, I took a section of the stars-n-stripes paper and mounted it on the navy block and then onto the white card base.
I thought it just might make a nice card to say thanks to a veteran who has served their country faithfully.
THE WRAP:
That’s my story for this month. Do you have a story you tell about something you experienced on your vacation? Why not scrap that memory and tell your story for your family to relive and retell for years to come?
Thanks for joining us for all the latest ideas. We’d love to see what inspires you as you scrap your memories…share with us on Facebook! Hope you’ll stop by again soon.
Andrea Fisher

