Photo Tips: Reflections
Whether it is a sunset on the ocean, mountains by a lake, or an image caught in a drop of water hanging from a leaf, reflections captured can make a dramatic statement in a photo.
Photographers carefully plan these dramatic shots that just about anyone with a phone might capture if they are paying attention when the moment arises.
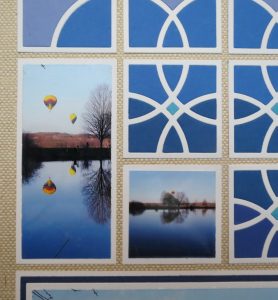
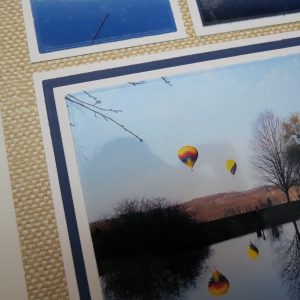
The photos I’m using today are both taken on a phone and because my son, David, was in the right place at the right time, paying attention. I’ve shared how we have a lot of ballooning enthusiasts out here in our neck of the woods and when conditions are right you will see them, sometimes where you least expect them.
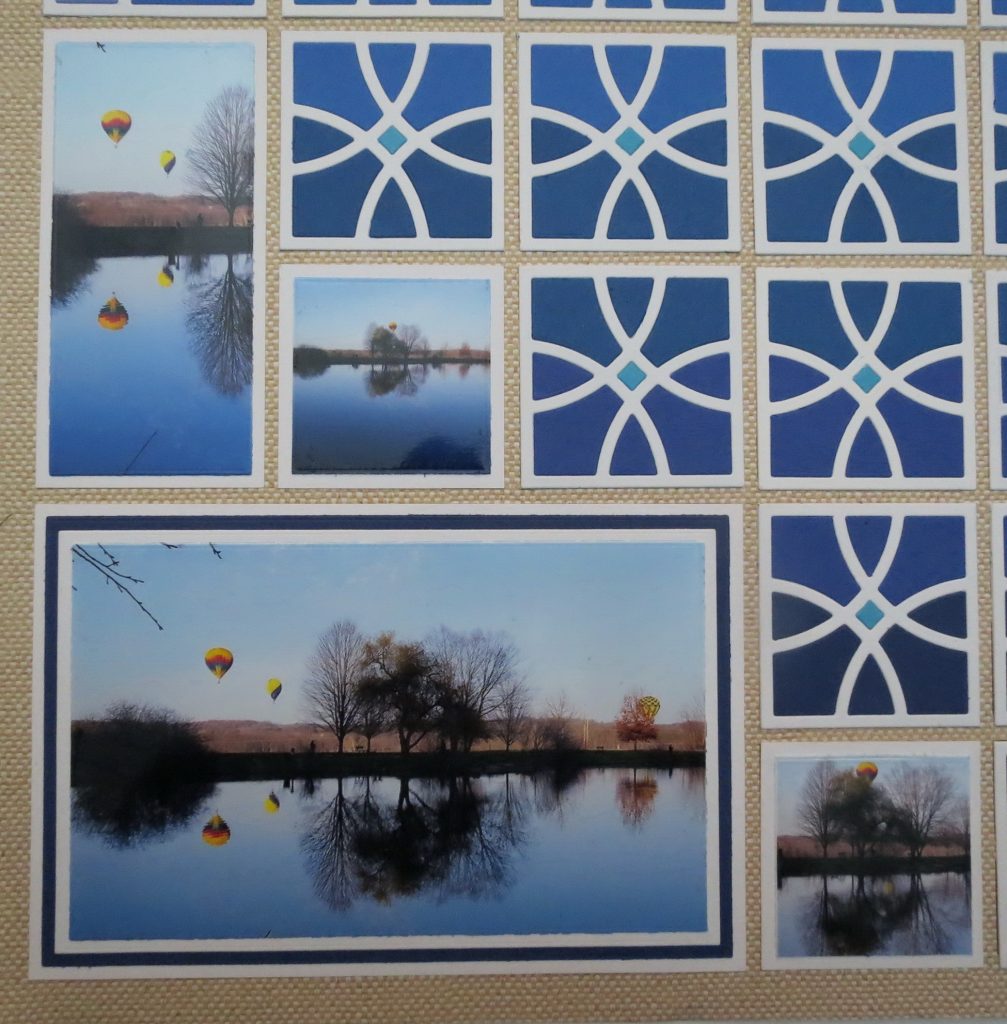
These are taken at a favorite county park that has a lovely trail to walk around a large pond. Conditions were right for the balloons to launch and my son was in the right place at the right time to capture several photos of the balloons as they drifted by. A combination of the balloons and trees reflecting in the pond is a lovely sight to me. I had to feature them for this theme.
 You never know when you might just come across one of those perfect moments to capture a reflection, so keep your eyes peeled, you won’t regret it!
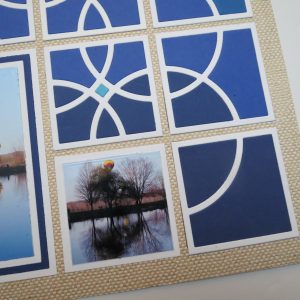
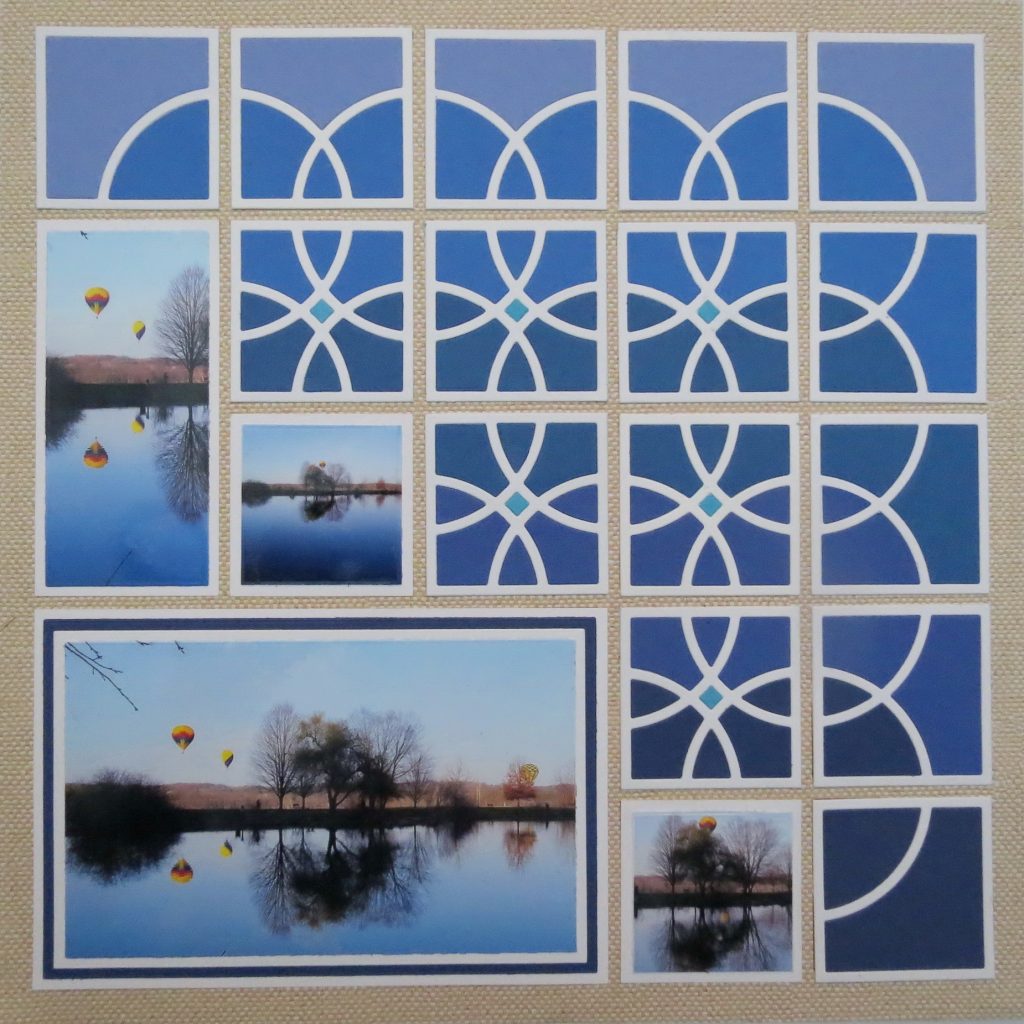
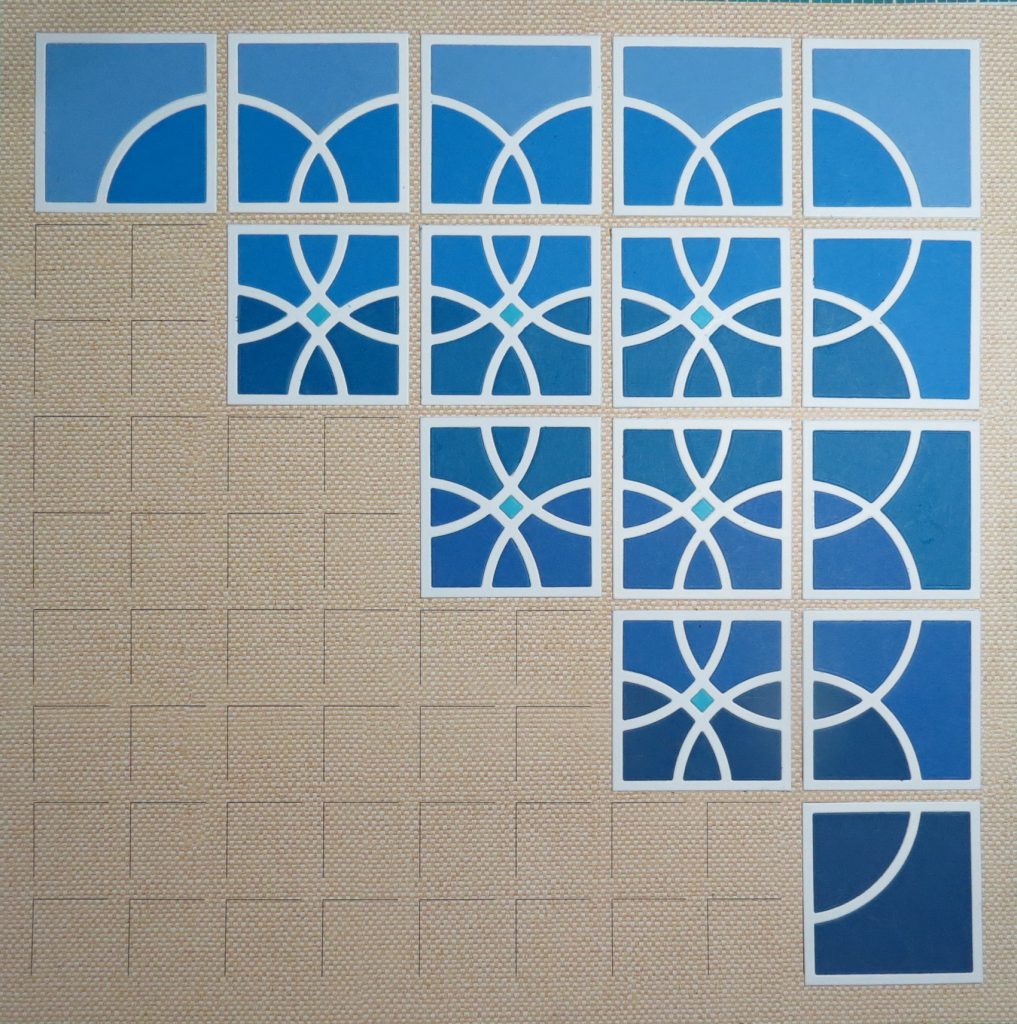
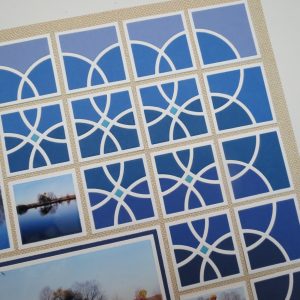
I’ve used the new Loop 2×2 Die Set to carry out a pattern or variegated colors inspired by the blues of the water and sky in my photos. The new Natural Weave grid paper from the Lazy Days Collection makes a nice textured neutral base for the whites of the die cut and the blues of the insets.
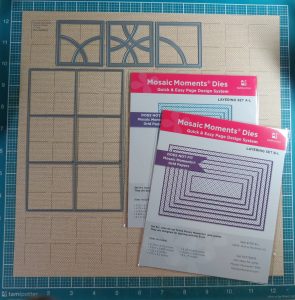
Five different blues have been used, one per row. I cut 2×2 squares in a lightweight white cardstock with the Grid Cut 2.125 die for an assembling base for each of the sections.
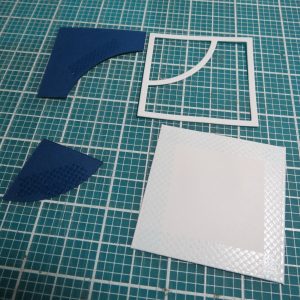
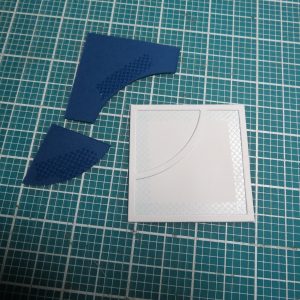
TIP: I’ve cut 2×2 bases for assembling the die cut pieces to add stability to the delicate frame of the die cut and a solid base for adding the additional inserted pieces. I found that taking the base and running my adhesive around the entire edge of the 2×2 I can easily lay the narrow frame down and still have adhesive showing to add in the pieces with just a little more adhesive on the piece if needed. Once completed it goes on the grid.
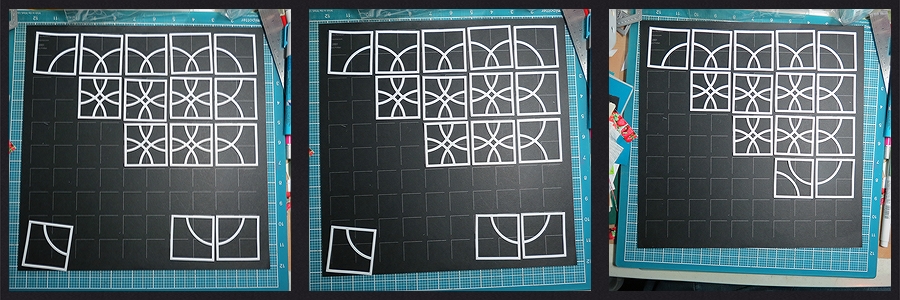
I wanted to show off the interlocking pattern that can be created with this die set. One day, I’ll use all color and no photos for a wall art piece. I began with Pattern #101 an all squares pattern and played around with my pieces to see what I could come up with.
I knew I wanted to feature the larger photo in a 4×6 space and the new layering dies along with the original Die Set B would allow that one to stand out with multiple layers of mats.
I cropped a few to get a couple of squares, but I wanted a nice vertical to show off the reflection too. I decided to use an entire half by diagonal on the pattern and fill the bottom left with my photos. I know that leaves a large portion for the pattern, but I really like seeing the progression of blues from dark to light play out in the die cuts. An aqua shade was cut to fill the center squares of each looped intersection for a pop of contrast.
Yes, it did take a bit of cutting each color with the die, but I have a lot of extras to draw on for a future project now. I assembled each section before placing on the grid and that allowed me to carefully fill each section with the right colors and make sure they were well adhered.
The Loop 2×2 die set makes a very nice lacey frame to focus on a central portion of your grid, but you can also find other ways to group your die sections to create a pattern for interest of another type. Be sure to play around with your dies to find new ways to be creative.
Next time you are traveling you might look for opportunities to photograph your own reflection shots. Maybe it will be the Washington Monument in the reflection pool in front of the Lincoln Memorial, or the beautiful Rocky Mountains in a crisp mountain lake, or maybe even a tropical sunset on the ocean with palm trees waving in the sea breeze, just keep your eyes open for those special moments and shoot!
Andrea Fisher

