Extra Edition!
8×8 Page Designs
With a Baby Shower post being featured this week, I thought I’d go ahead and get this post ready to debut at the same time. It makes a good companion piece. Although this example is a baby album, the patterns used are perfect for any 8×8 book and any special album like a graduation, Mother’s Day or Father’s Day.
You will see how completing an entire 8×8 album can be done quickly and easily with a little organization, a few patterns and our MM Dies Sets.
Baby Firsts Album
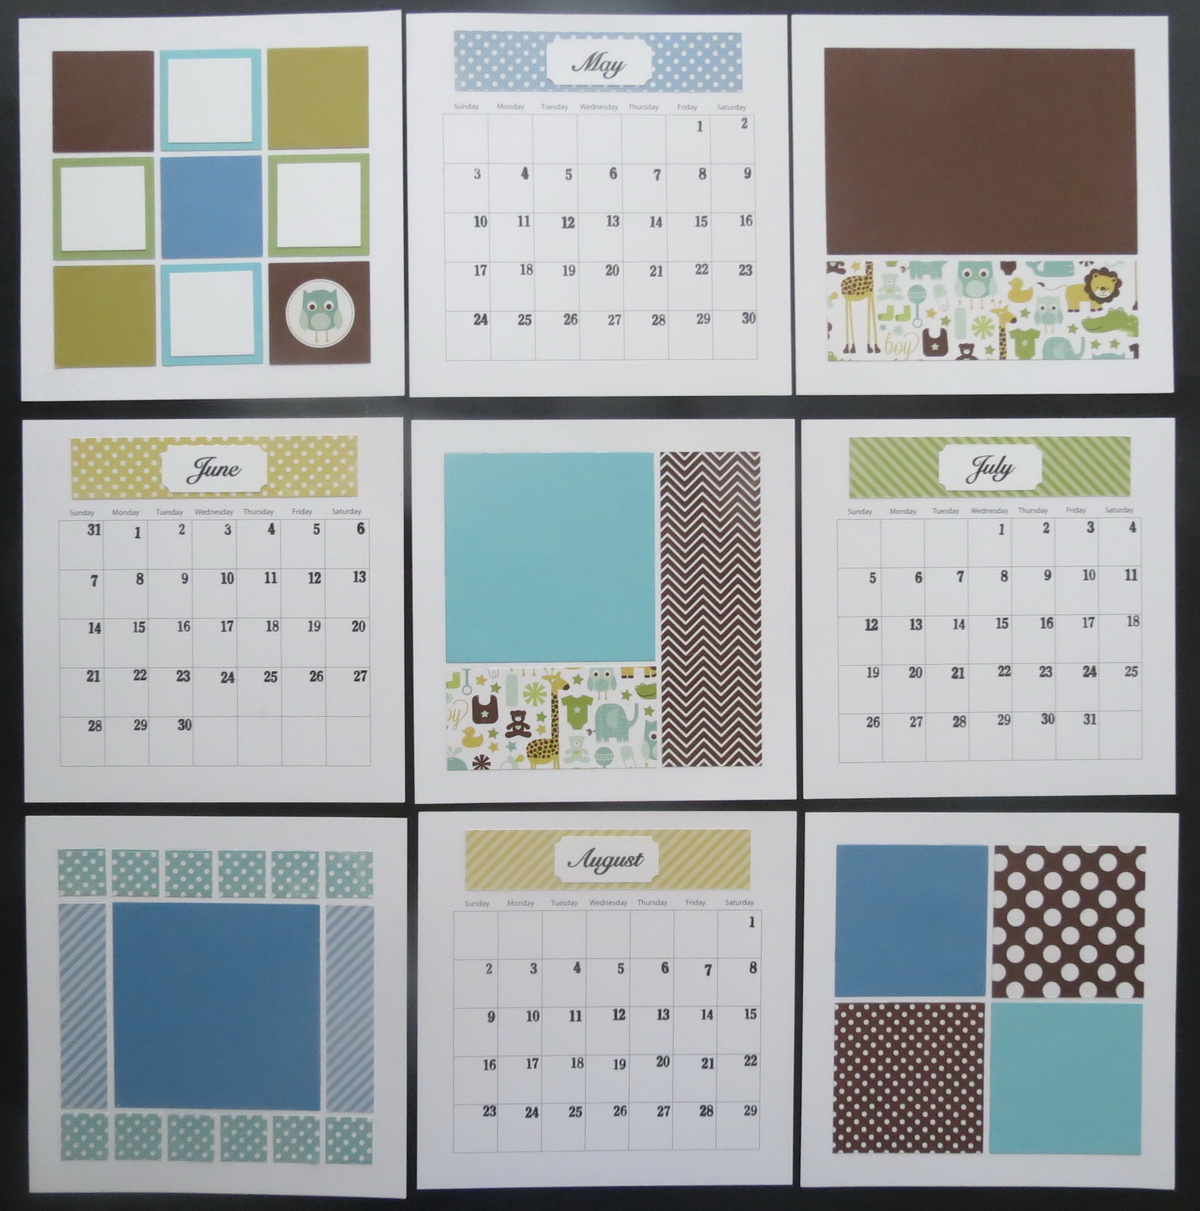
This baby album is designed to incorporate a calendar to keep a record of baby’s firsts and a photo or two from each month.
We used to take photos of our kids during their first year once a month to mark their growth during that first year. We also kept calendars with each of their first accomplishments and special events. This book idea allows you to do both.
Mosaic Moments Calendars are available in 12×12 and 8×8 sizes. This project can be adapted for either, but we’ll focus on the 8×8 size and the 8×8 layouts to go along with them.
I frequently do these baby albums as gifts and they are fairly easy to make and assemble, but with our new dies the job will be even quicker and easier to accomplish.
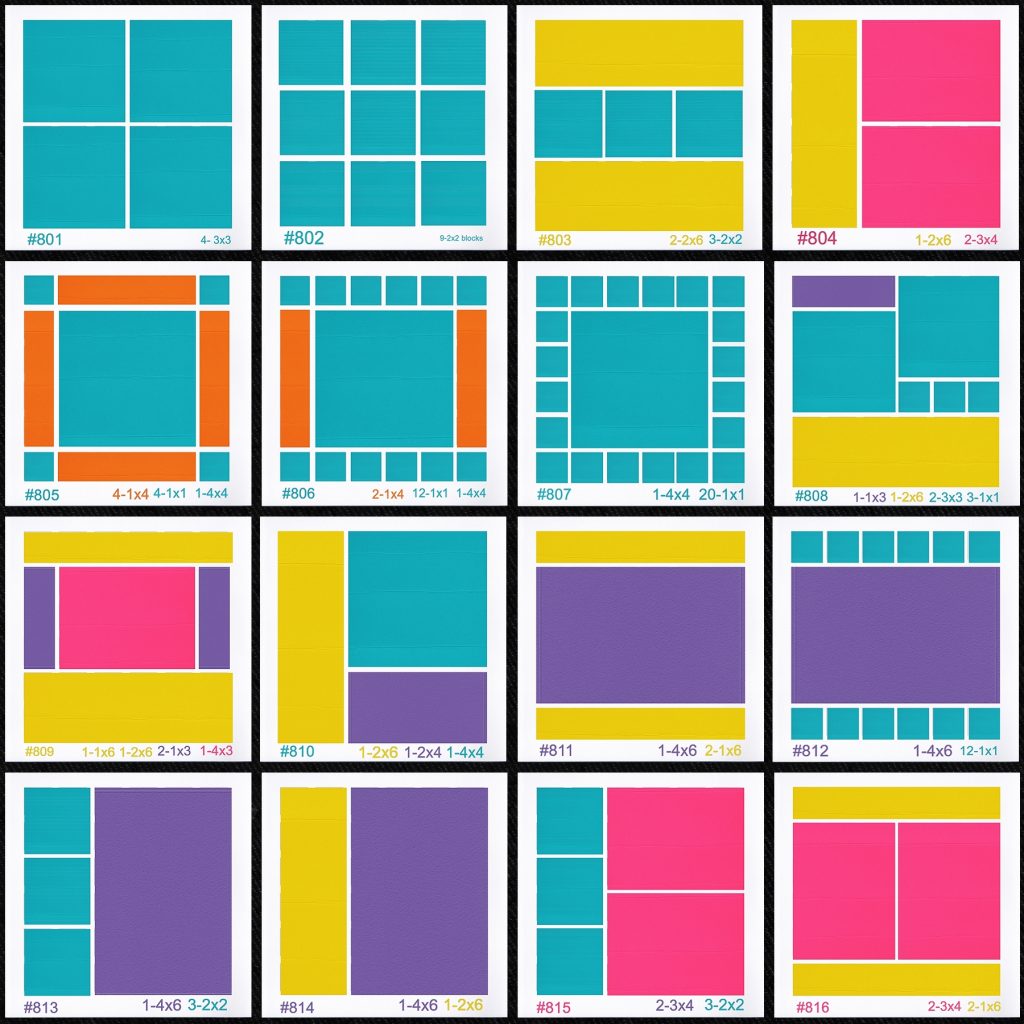
I began with all the patterns I usually use and turned them into color coded patterns like Tami’s to help me to visually see what I needed to cut. Several patterns can be rotated for 2-4 different layout patterns. Here are the supplies you will need to do a book:
• MM 8×8 Grid paper: white (13 pages)
• MM 8×8 Journaling Pages (1 page)
• MM 8×8 Calendar Pages (1 set, opt. 13 months)
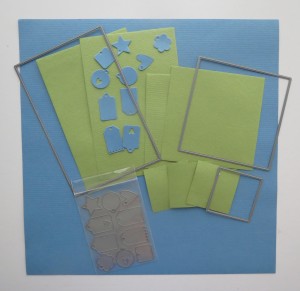
• MM Dies Sets ABCDE and Die Set 1” squares
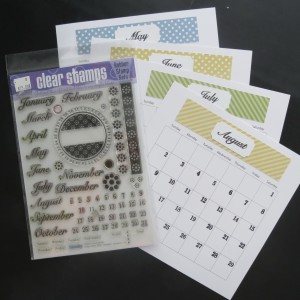
• Impression Obsession Circle Calendar Stamps by Tami Potter
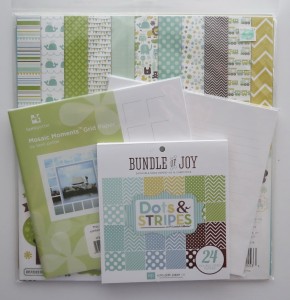
• Coordinated patterned papers 6×6 pack I used Echo Park Bundle of Joy Dots and Strips
• Coordinating patterned papers 12×12
• Coordinating cardstock papers 12×12
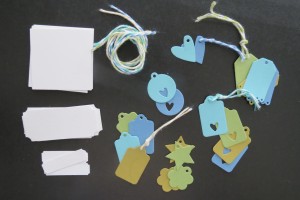
• Papertrey Inks Tiny Tags Die
• EK Success punches: Labels, Large Square
• 8” x 8” photo album with extra page protectors
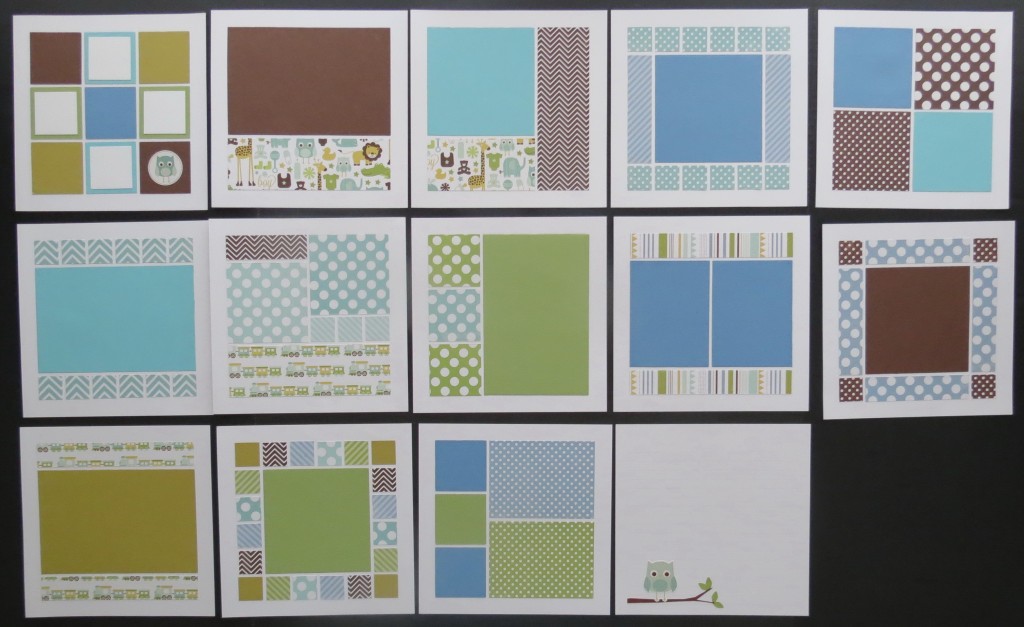
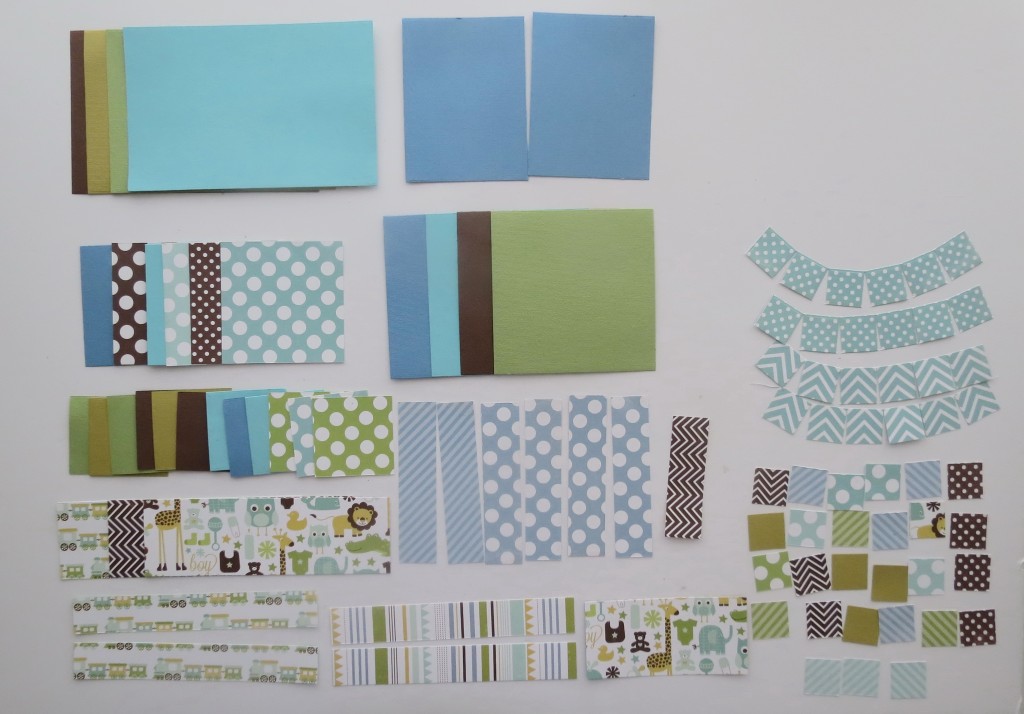
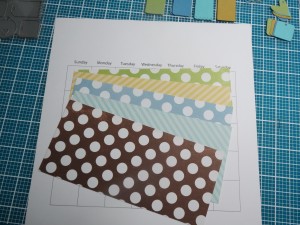
You will see from this photo that everything was cut and ready to be assembled. Cardstock was used for the mats and here’s how each sheet was cut:
• Each of the 12”x12” cardstock sheets were cut into 2-4.5” strips and 1-3” strip.
• Each 4.5” strip was cut into 1-4×6 block and 1-4×4 block using the MM Die Sets
• Each 3” strip was cut into 3-2×2 blocks and tiny tags in the leftover section.
The patterned paper was cut based on which patterns were chosen. On each pattern is a note about how many of each piece must be cut. Tally your pieces and cut! An assembly line process made the job quick. The pattern paper was double sided so that increased the combinations that were possible and because it was a coordinated paper pack any combination would work.
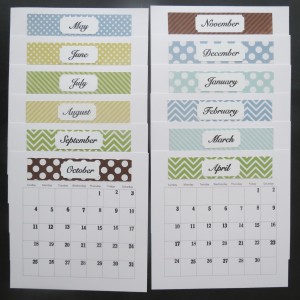
For the calendar pages a strip of the patterned paper would act as a backdrop for the stamped month title. The months were stamped on a tag made with the EK Success label punch. For months that were longer than the label were made on a strip of cardstock and trimmed to mimic the punched version. Each of the squares was stamped with a date for each of the months. You may want to include 13 months, so that there is a calendar for the month of birth, and the month they will turn 1 yr. old. Or, you could include one journal page to allow for a summary of baby’s first year.
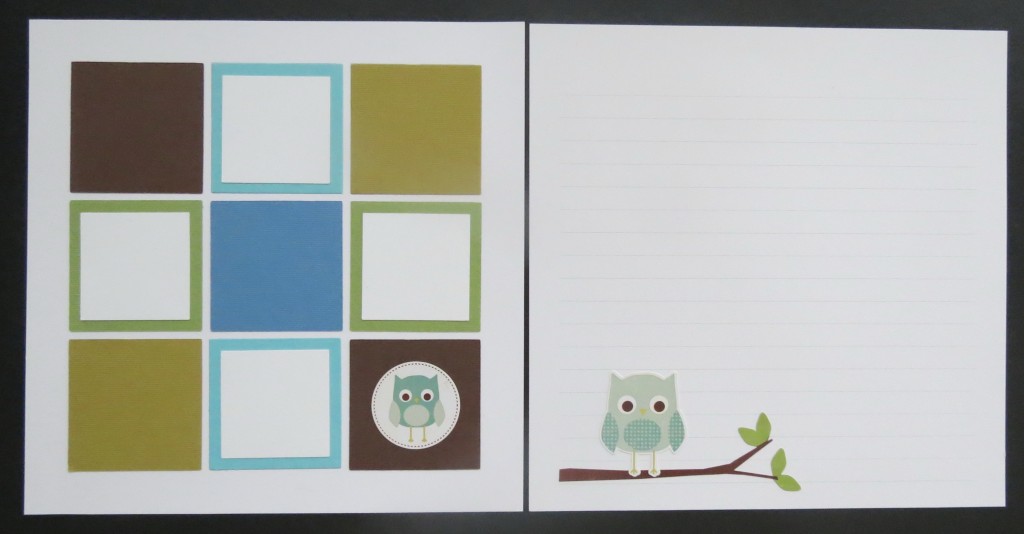
8×8 page designs this is the opening page with spots to add baby’s stats, date, time, weight, length in the white squares and optional photo in the center. Also the back journal page for a year in review summary.
For another occasion any small 8” x 8” photo album will generally come with ten page protectors that will allow you to create a full book by choosing from the any of the 16 patterns shown here or rotating them for an increased number of choices.
The papers you choose will help you to set your theme and choose embellishments. You can give your album as one to ‘just add photos’ by the recipient, or one finished with photos already applied. If your recipient is a fellow scrapbooker, maybe giving all the prepared pieces and album for them to assemble would be fun!!
Andrea Fisher

